Solucionar problemas con mi CO2 1866
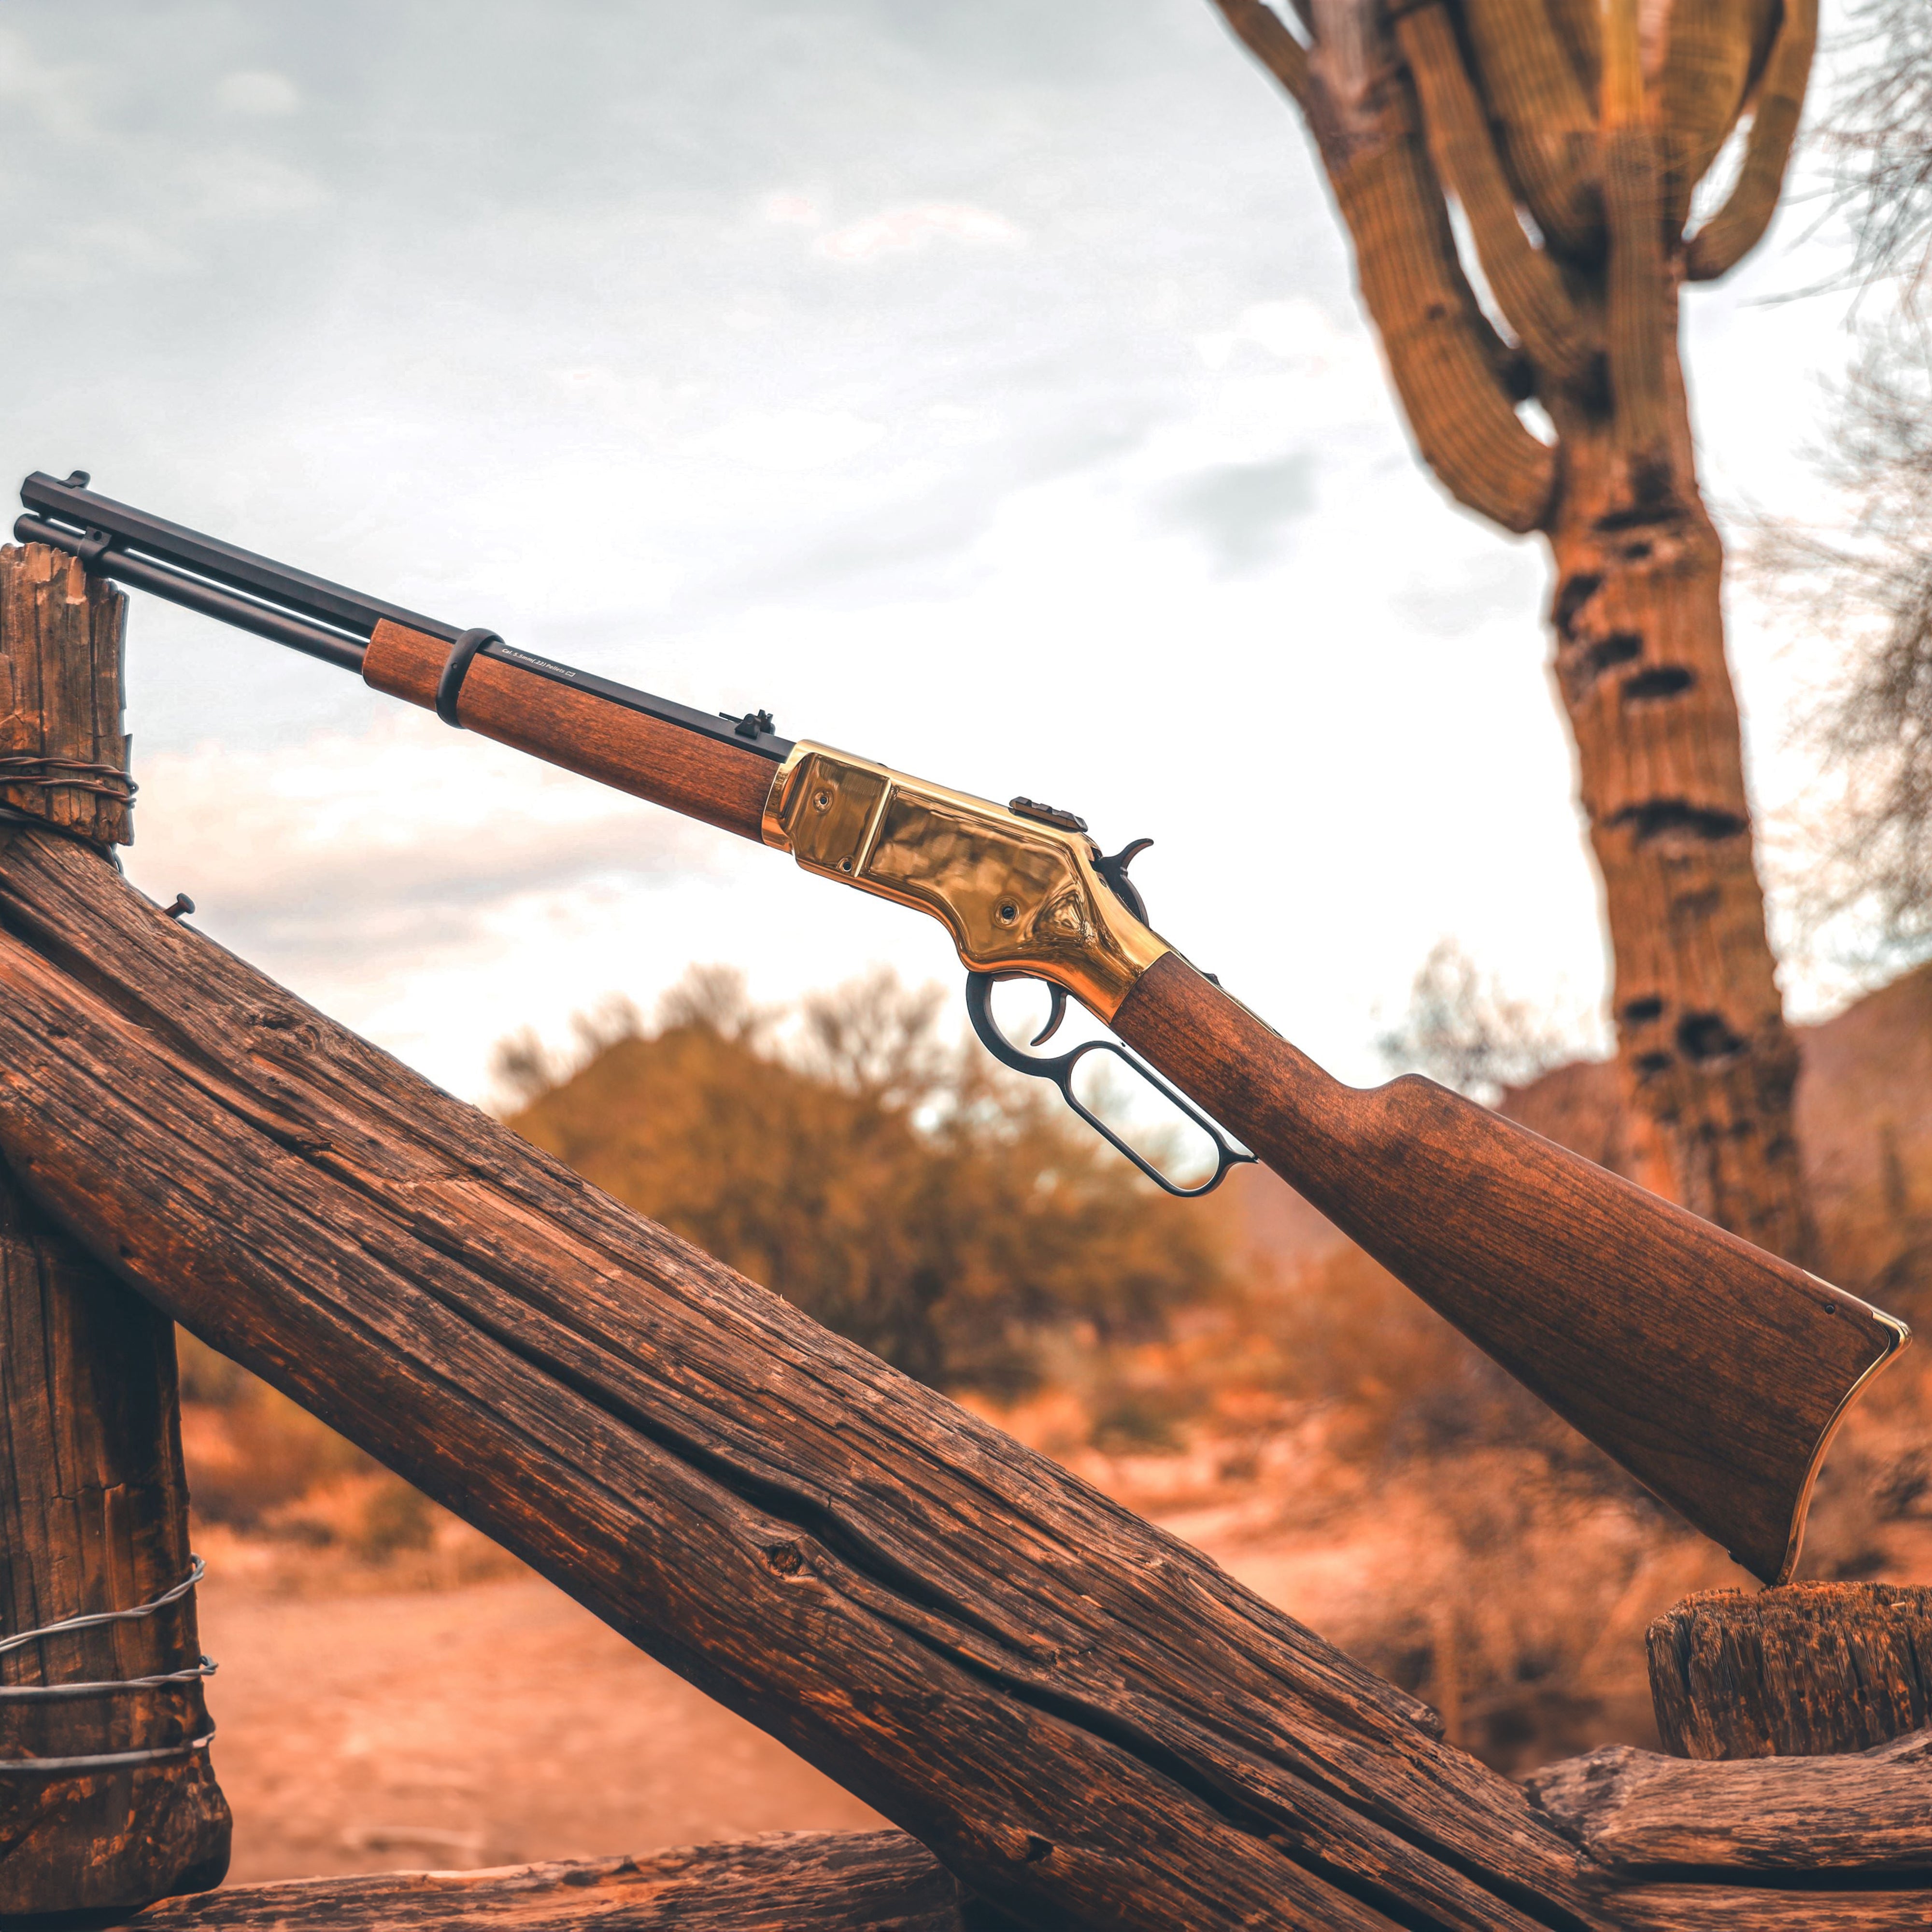
Rifle de aire comprimido CO2 y de perdigones
Preguntas frecuentes sobre el CO2 de 1866
¿Cómo manejo mi rifle?
- Sigue este vídeo para aprender a instalar el CO2 y temas relacionados: https://www.youtube.com/watch?v=_YFLJBHPhJU
- Cargue sus cartuchos de perdigones. Use el calibre correcto para sus cartuchos y cañón. Los perdigones de peso ligero a medio son los más adecuados para este rifle. Cargue hasta 10 cartuchos en la compuerta de carga lateral.
- Mueva la palanca completamente hacia adelante y luego completamente hacia atrás con suavidad para expulsar, cargar y colocar un cartucho en la recámara. El seguro de palanca requiere que esta se presione contra la empuñadura para disparar.
- Cómo almacenar de forma segura su CO2 1866 / eliminar el CO2: https://www.youtube.com/watch?v=fQ_ciBK3Ue8
¿Por qué no puedo colocar los 10 cartuchos en mi rifle?
El resorte puede venir rígido de fábrica. Instale tantas carcasas como sea necesario sin forzar demasiado y déjelo reposar toda la noche para que se asiente. Si esto no funciona, es probable que haya un defecto que esté causando el problema. En ese caso, contacte con el servicio de atención al cliente.
Tengo una carcasa atascada. ¿Qué debo hacer?
- No fuerce la palanca. Si es posible, desgasifique el rifle como se explica en otras secciones de estas preguntas frecuentes. Siga el video de reemplazo del cañón para retirar la sección frontal del rifle de la acción. No desarme más. Intente retirar el casquillo atascado de la acción en esta configuración; mueva suavemente la palanca para facilitar el proceso y acceder al casquillo. Vuelva a armar el rifle.
- Evite atascos en el futuro concentrándose en un movimiento completo y suave de la palanca hacia adelante y hacia atrás. No utilice un recorrido corto del mecanismo. Asegúrese de que los cartuchos de perdigones estén limpios y lisos. No utilice cartuchos dañados.
¿Por qué mi rifle está defectuoso o no dispara?
- Las dos razones más probables son que el seguro de la palanca no esté presionado o que los cilindros de CO2 no estén perforados. Localice el botón de seguridad debajo de la palanca. Asegúrese de presionar la palanca ligeramente para que el botón quede presionado.
- Para los cilindros de CO2, asegúrese de enroscar el tapón trasero hasta que oiga perforar los cilindros. Debería oír un silbido. Para obtener mejores resultados, apriete hasta encontrar una ligera resistencia antes del silbido. Vuelva a colocarse para girar el tornillo completamente. Apriete el tornillo rápidamente al oír el silbido; esto aumentará la probabilidad de perforar ambos cartuchos a la vez. De lo contrario, generalmente se perfora el cilindro superior. Si el cilindro inferior no perfora, el rifle necesitará servicio de garantía.
¿Cómo instalo mi cañón estriado?
Cuando compre su kit de cañón estriado, vendrá con instrucciones sobre cómo instalar su nuevo cañón estriado.
También puedes ver este video para ayudarte a instalar tu cañón estriado: https://www.youtube.com/watch?v=8Aexlba5Ac0